# DuckStation - PlayStation (PSX) Emulator
## Features
- CPU Recompiler/JIT (x86-64 and AArch64)
- Hardware (D3D11 and OpenGL) and software rendering
- Upscaling and true colour (24-bit) in hardware renderers
- "Fast boot" for skipping BIOS splash/intro
- Save state support
- Windows and Linux support - macOS may work, but not actively maintained
- Supports bin/cue images, raw bin/img files, and MAME CMD formats.
- Direct booting of homebrew executables
- Digital and analog controllers for input (rumble is forwarded to host)
- Qt and SDL frontends for desktop
- Qt frontend has graphical configuration, and controller binding
- Automatic content scanning - game titles/regions are provided by redump.org
## System Requirements
- A CPU faster than a potato.
- For the hardware renderers, a GPU capable of OpenGL 3.0/OpenGL ES 3.0/Direct3D 11 Feature Level 10.0 and above. So, basically anything made in the last 10 years or so.
- SDL-compatible game controller (e.g. XB360/XBOne)
## Building
### Windows
Requirements:
- Visual Studio 2019
1. Clone the respository with submodules (`git clone --recursive` or `git clone` and `git submodule update --init`).
2. Open the Visual Studio solution `duckstation.sln` in the root, or "Open Folder" for cmake build.
3. Build, binaries are located in `bin/x64`.
4. Copy the DLL files from `dep/msvc/bin64` to the binary directory.
5. Run `duckstation-x64-Release.exe` or whichever config you used.
### Linux
Requirements:
- CMake
- SDL2
1. Clone the repository. Submodules aren't necessary, there is only one and it is only used for Windows.
2. Create a build directory, either in-tree or elsewhere.
3. Run cmake to configure the build system. Assuming a build subdirectory of `build-release`, `cd build-release && cmake -DCMAKE_BUILD_TYPE=Release -GNinja ..`.
4. Compile the source code. For the example above, run `ninja`.
5. Run the binary, located in the build directory under `src/duckstation/duckstation`.
### Android
**NOTE:** The Android frontend is still incomplete, not all functionality works and some paths are hard-coded.
Requirements:
- Android Studio with the NDK and CMake installed
1. Clone the repository. Submodules aren't necessary, there is only one and it is only used for Windows.
2. Open the project in the `android` directory.
3. Select Build -> Build Bundle(s) / APKs(s) -> Build APK(s).
4. Install APK on device, or use Run menu for attached device.
## Running
1. Configure the BIOS path in the settings.
2. Open a disc image file, enjoy.
## Default keyboard bindings
Keyboard bindings are currently not customizable. For reference:
- **D-Pad:** W/A/S/D or Up/Left/Down/Right
- **Triangle/Square/Circle/Cross:** I/J/L/K or Numpad8/Numpad4/Numpad6/Numpad2
- **L1/R1:** Q/E
- **L2/L2:** 1/3
- **Start:** Enter
- **Select:** Backspace
Gamepads are automatically detected and supported. Tested with an Xbox One controller.
To access the menus with the controller, press the right stick down and use the D-Pad to navigate, A to select.
## Useful hotkeys
- **F1-F8:** Quick load/save (hold shift to save)
- **F11:** Toggle fullscreen
- **Tab:** Temporarily disable speed limiter
- **Pause/Break:** Pause/resume emulation
- **Space:** Frame step
- **End:** Toggle software renderer
- **Page Up/Down:** Increase/decrease resolution scale in hardware renderers
## Tests
- Passes amidog's CPU and GTE tests in both interpreter and recompiler modes, partial passing of CPX tests
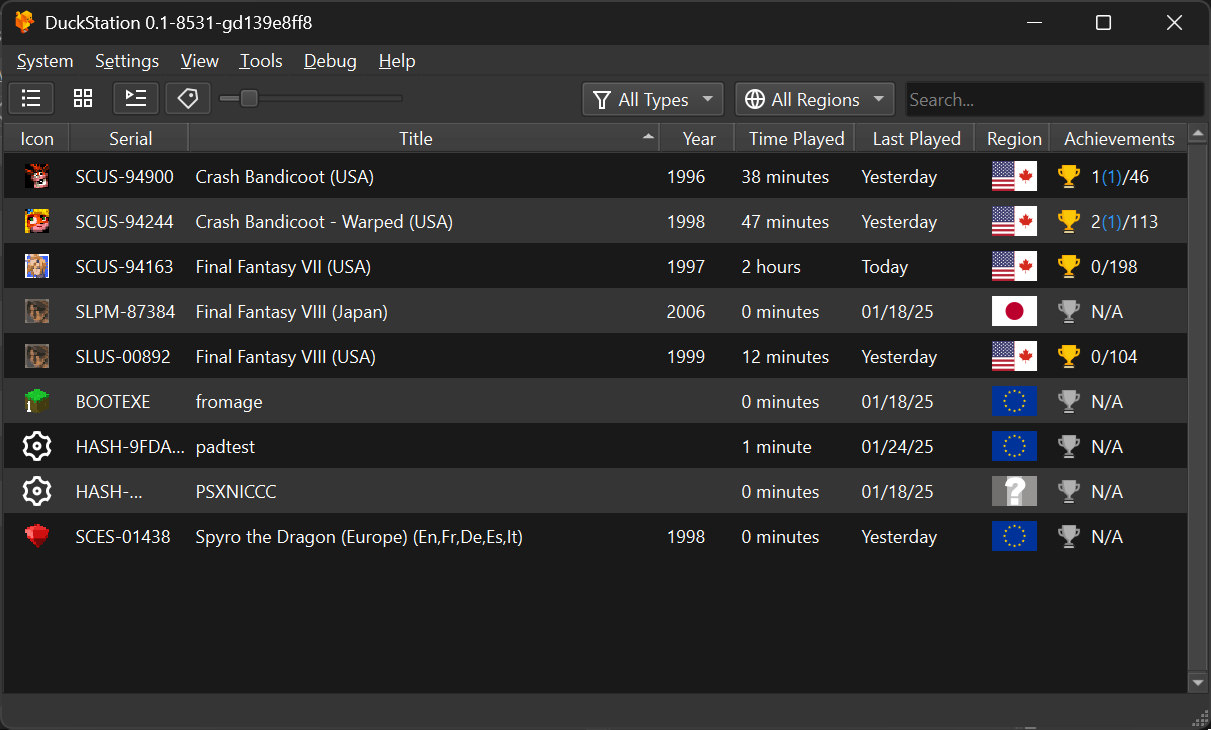
## Screenshots


## Disclaimers
Icon by icons8: https://icons8.com/icon/74847/platforms.undefined.short-title
"PlayStation" and "PSX" are registered trademarks of Sony Interactive Entertainment Europe Limited. This project is not affiliated in any way with Sony Interactive Entertainment.